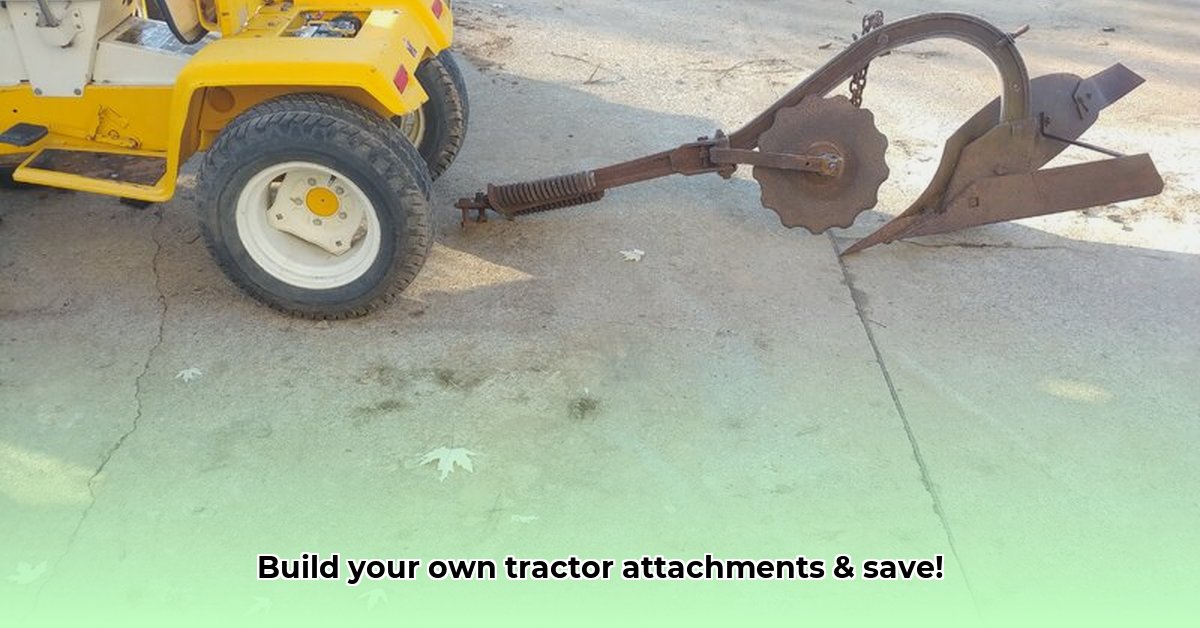
Ready to ditch the high prices of store-bought tractor attachments and build your own? This guide will walk you through the process of creating popular and versatile attachments, like a box blade and cultivator, saving you money while satisfying your DIY spirit. We'll cover everything from planning and design to the final test run, emphasizing safety at every step. For more attachment ideas, check out this helpful resource.
Planning Your Homemade Tractor Attachments: Dream Big, Plan Smart
Before you touch a tool, meticulous planning is paramount. What tasks need tackling? A box blade for land leveling? A cultivator for weed control? Understanding your needs dictates the design. Familiarize yourself with your tractor's three-point hitch (the system connecting the attachment to the tractor) to ensure compatibility. Precise measurements are crucial; sloppy work leads to dangerous situations and equipment failure.
Safety First, Always: Building tractor attachments demands utmost caution. Identify potential pinch points or areas where limbs could be caught. Will the design withstand operational stresses? Over-engineering is preferable to under-engineering in this context. If unsure, add extra bracing. Remember: a stronger design equals a safer design.
Material Selection: Steel is Your Ally: Steel is usually the best material choice unless you have access to advanced composites. The steel grade significantly impacts strength and durability—higher grades offer superior performance but demand a higher price. Explore cost-effective options like recycled steel from scrap yards, providing both economic and environmental benefits.
Detailed Drawings and Calculations: Your Blueprint to Success: Create detailed drawings with precise dimensions and angles. Calculating the weight and stress points ensures your attachment won't fail under load. Accurate diagrams are your roadmap to success. Don't skip this critical step.
Gathering Your Tools and Materials: Arming Yourself for Battle
While you don't need a professional workshop, essential tools are necessary. A MIG welder is ideal (though skilled users can manage with other welders). A grinder smooths welds and cuts metal. Accurate measuring tools (tape measure, square, level) are essential. A plasma cutter greatly simplifies cutting, but an angle grinder with cutting discs is a suitable alternative.
| Material | Quantity | Notes |
|---|---|---|
| Steel Plate | As needed | Thickness depends on the attachment's intended use and strength requirements. |
| Steel Tubing | As needed | Diameter and wall thickness are crucial; consider the stresses involved. |
| Fasteners (Bolts/Nuts) | As needed | High-strength bolts are a must; choose the right size and grade. |
| Welding Wire | As needed | Match the welding wire to the type of steel you're using. |
| Paint (Rust-Resistant) | 1-2 quarts | Protects your hard work from the elements; choose a durable outdoor paint. |
| Safety Gear | Plenty! | This includes safety glasses, gloves, a welding mask (if welding), and sturdy work boots. |
Source materials strategically. Local metal suppliers often offer competitive pricing. Scrap yards are treasure troves of affordable, recycled steel which is an environmentally friendly choice.
Constructing Your Homemade Tractor Attachments: From Blueprint to Reality (A Box Blade Example)
Let's build a box blade—a versatile attachment for land leveling. Adjust dimensions to your needs. Always prioritize safety. Wear appropriate safety gear at all times.
Step 1: Cut and Shape: Using precise measurements from your drawings, cut steel plates and tubing. A plasma cutter or angle grinder speeds this up, though a hacksaw and patience work too.
Step 2: Welding Time: Securely weld components, ensuring strong, even welds. Practice on scrap metal beforehand if needed. Poor welds are a major safety hazard.
Step 3: Reinforce and Brace: Add extra bracing to stress points for increased durability and safety. This step is crucial for long-term functionality and avoiding accidents.
Step 4: Finishing Touches: Grind smooth any sharp edges and apply rust-resistant paint for protection and aesthetics.
Mounting and Testing Your Masterpiece: Showtime!
Mounting the attachment requires care. Securely attach it to the tractor's three-point hitch, meticulously following your tractor's manual.
Secure Attachment is Crucial: Double-check all connections for tightness. Loose components are extremely dangerous.
Test Run: A Controlled Environment: Conduct a test run in a clear, open area, away from obstacles and people. Monitor its performance, correcting any issues.
Maintaining Your Homemade Tractor Attachments: Keeping It Going Strong
Regular maintenance is vital. Inspect for wear and tear, lubricate moving parts, and touch up paint. Indoor storage provides optimal protection from the elements. Proactive maintenance ensures safety and extends the lifespan of your attachment.
How to Ensure Safety When Building DIY Tractor Attachments: Key Considerations
Building your own attachments offers significant cost savings, but safety remains the top priority. Following these guidelines is crucial for a successful and safe project.
- Thorough planning and design: Accurately assess stress points, ensuring sufficient material strength and a secure mounting system.
- Appropriate material selection: Choose high-quality steel, considering the intended load and stress.
- Proper tool usage and maintenance: Ensure tools are sharp, well-maintained, and used correctly, wearing appropriate safety gear.
- Meticulous construction: Follow plans precisely, taking your time and focusing on secure welds or fastenings. Thoroughly inspect your work before use.
- Cautious mounting and testing: Ensure the attachment is securely mounted to the tractor's three-point hitch, testing in a controlled environment.
- Regular inspection and maintenance: Regularly check for wear or damage, maintaining and lubricating moving parts to prevent failures.
By adhering to these practices, you can safely and successfully build durable, customized tractor attachments, combining cost savings with the satisfaction of a job well done.